Everything You Should Know About Highland Bowl
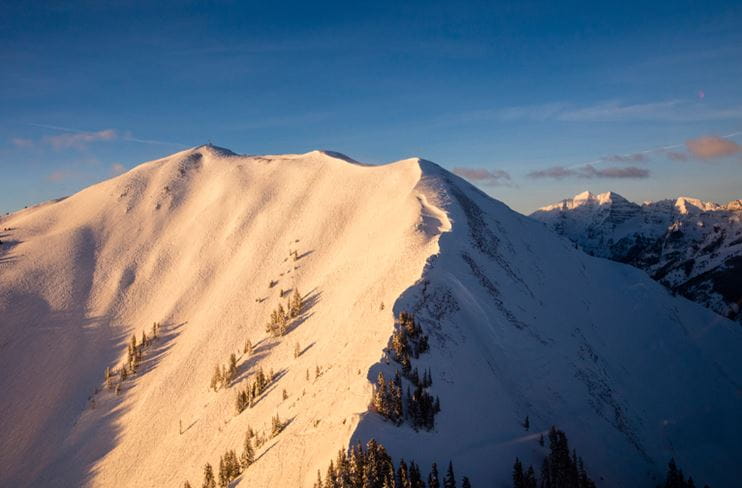
The Highlands Bowl is expert terrain only, and requires a steep hike to get to the top.
Updated December 2025
If you’re an advanced-to-expert skier or boarder, hiking and skiing Highland Bowl at Aspen Highlands is a peak experience (pun intended) not to be missed. Topping out at 12,392 feet above sea level, this vast, mostly open, 270-acre powder playground is the closest thing to a European Alpine experience in the central Rockies. Sure, it involves some work to get the goods — hiking up 782 sweaty, why-am-I-doing-this vertical feet, to be exact. But for those who like the steep and deep, the effort you put in pays off in spades, as the Bowl often get more snow than any other in-bounds area on the four Aspen Snowmass ski areas, and can hold it the longest (not having lift access makes for a low skier-to-terrain ratio).
Before You Go

The Lowdown on Highland Bowl
Being prepared for the whole Bowl experience is essential. You must be an advanced or expert skier or boarder, and reasonably fit to hike in the thin air well above 10,000 feet of elevation. (If you are very scared of heights, this may not be a great activity for you as the ridge of the Bowl gets quite narrow in places.) All the runs are classified as double black diamond, or expert, runs, with their steepest pitches ranging from 38 to 48 degrees, making for some of the steepest descents in Colorado. Make sure all your gear is in good working order, and that the DIN setting on your bindings is set appropriately to your weight and ability, as the last thing you want is to lose a ski in the deep powder.

All About the Weather at Aspen Highlands
Check the weather forecast and plan your Bowl day when you have at least three hours—more if it’s your first time up. Although it’s ideal to go when it’s sunny and warm for obvious reasons, some clouds and colder temperatures are good, too, minimizing the snow glare and sweat factor on the hike. When it’s snowing or really cloudy, flat light and low visibility can make for a tricky descent, unless you head for the trees in the lower G Zones—which means you have to hike to the peak and then descend the ridge on the other side, possibly in a whiteout. Wind is another factor—it can really nuke up there sometimes, so make sure you can adequately cover your face and neck to ward off frostbite (the “Highlands Kiss”). The Aspen Snowmass app includes some wind speed info in its weather forecast feature, although sometimes you don’t know until you get up there.
When Is the Bowl Open?
The Bowl is usually open from 10am to 2:30pm, but opens later if, for example, a lot of overnight snow requires patrol to do extra avalanche mitigation.
Check the Aspen Snowmass app for most up to date info on the Highland Bowl status.
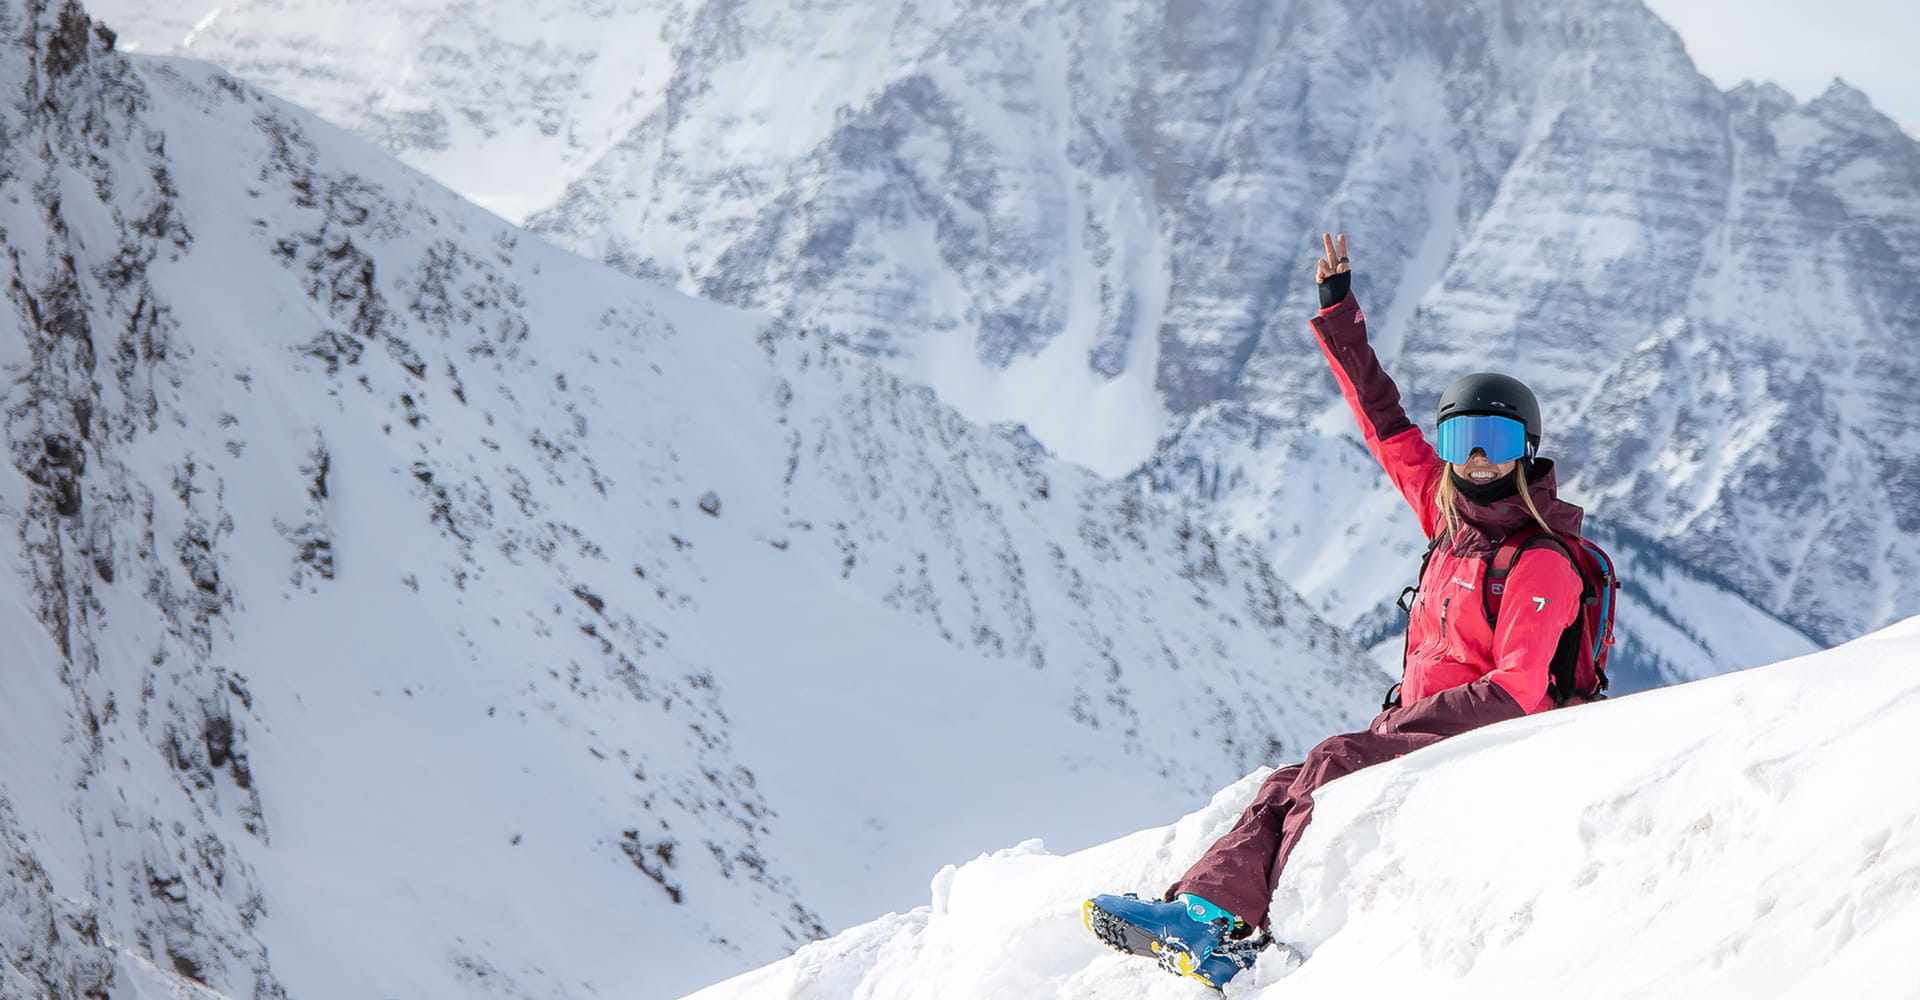
A triumphant skier says hello from atop Highland Bowl with Pyramid Peak in the distance
Preparing Yourself for the Highland Bowl

What Should You Wear? And What to Bring?
Hiking the Bowl is a unique athletic activity insofar as you should be prepared for both intense heat (generated by your body) and intense cold. Make sure to wear layers that you can easily take on and off, or zip and unzip as necessary. Bring sunglasses to protect your eyes on the way up; goggles will likely fog but are good to have on if it’s a full-on blizzard. Don’t forget water and sunscreen, and wear a breathable neck gator to avoid sun and wind burn. A backpack that you can attach skis or a board to, and that can carry water and extra layers, is nice to have.
If you don’t have one, you can purchase a Bowl strap at Aspen Highlands patrol headquarters before starting the hike—make sure to ask how it works if you haven’t used one before. If you prefer to use climbing skins, be aware that there are a couple sections that don’t have skin tracks and involve advanced moves along steep terrain and over postholes. Skiers should unbuckle or loosely buckle boots for the hike—it’ll give you additional mobility and keep the blood flowing to your feet to keep them warm. Your feet and ankles will thank you later!

Save This Number in Your Phone
It is never a bad idea to put the phone number of Highlands Patrol in your phone should anything go wrong 970-544-3052.
During Your Climb and Descent
Getting There
You’re ready to go—it’s game on. First, you have to get there: Take the Exhibition and Loge Peak chairlifts (20 minutes) to Loge Peak, where you’ll have a breathtaking view of the Bowl and the ridge hike. Stop by the patrol hut (skier’s right) to use the restroom, buy a strap to carry your skis or board, and/or ask about conditions and recommendations in the Bowl.
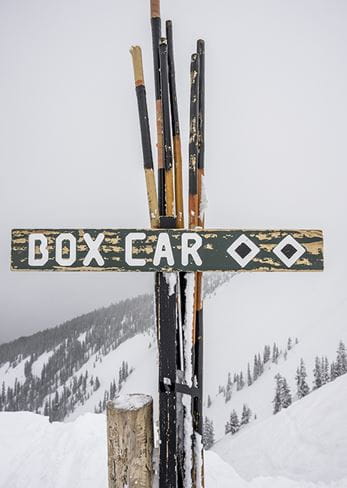
A sign indicates the entrance to the Bowl, after which you’ll have to schuss up a small hill and then down and slightly up again to the starting point of the hike. On your left before the spot where people get ready for the hike is the snowcat loading zone. When conditions permit and it’s operating, riding the free cat cuts about 15 minutes off the hike.
What to Expect of the Ascent
Once you’ve shed or unzipped layers, unbuckled boots, donned sunglasses, strapped your board(s) to your back, and maybe put on some tunes, give yourself 30 to 60 minutes for the hike to Highland Peak—most people average 45 minutes without the cat ride. Pace yourself and stop to catch your breath as often as you need to, but make sure to step off the bootpack trail when faster hikers are behind you. After the rock outcropping and on the three distinct summits are natural places to rest off the trail, take in the view, and snap some photos. Leading up to the first summit, the long steep pitch of Heart Attack Hill is the crux of the climb—once you’ve made it to the top of that, you’re almost there.

Highland Bowl awaits above the Loge Peak Lift.
Plotting Your Line
Most people want to summit Highland Peak (which is an experience unto itself), but if you can’t or don’t feel up to doing the full hike for any reason, most of the season you can ski down from any point along the ridge. Just know that early in the ski season, oftentimes only the G Zones are open, which require hiking to the peak, and later in the season, spring conditions (frozen, crunchy, or mushy snow) can make the Y Zones (the runs up to the first summit) more challenging and less fun.
When you make it to the summit, take the time to absorb and appreciate this accomplishment. Put down your gear (be very careful with snowboards as they’ve been known to slide off the peak and out of reach) and sip some water while drinking in the views: the Maroon Bells and Pyramid Peak to the south, Red Mountain to the north, and Aspen Mountain and the west-facing backcountry runs off Richmond Ridge to the east. Make sure to get the Highland Peak sign and prayer flags in at least one of your photos.
Now, where to ride? You won’t be able to see much from the summit, which is why it’s important to keep an eye on the terrain—and how people are skiing it—on the way up. The north-facing G Zones are the safest bet for snow quantity and quality, and generally easier entry points. Closest to the summit, G-8 and G-6 are steep, open pitches ideal to ride on a quintessential Aspen bluebird powder day. Work your way further down the ridge to find patches of untouched snow several days after storms in the trees and hidden stashes of G-2, G-3, and Child’s Play.
Another option is to take the plunge off the summit into Full Curl, Ozone, or Be One, narrow chutes between rocky ridges where later in the season the steep pitches offer smooth, chalky hero snow—a thrilling experience if you’re able to trust yourself to let it go a little.
If you haven’t hiked to the top; more steep, consistent pitches—plus a few timbered ridges that often hold swaths of untouched powder—mark the lower B Zones. And the varied, playful terrain in the more west-facing Y Zones can be a good call for a short second or third lap when conditions are good.
Once you’ve cleared the amphitheater, there are still lots of turns left as you make your way to the Deep Temerity chairlift. Take a minute to look up at what you’ve done, then choose one of two gullies that eventually fork to three, with dozens of hidden terrain gems. Eventually they all end up on a short catwalk, where you can start relaxing your tired legs before loading the lift. At that point you’ll have a little more than seven minutes to decide whether to do it all again.
How Much Time Does it Take?
1. Exhibition Lift + Loge Peak Lifts: 20 minutes2. Getting straps from patrol: 5–10 minutes
3. Hiking: 30–60 minutes. Most people average 45 minutes*
4. Summit time: 10 minutes
5. Skiing / Boarding: 20 minutes
6. Deep Temerity Lift: 7 minutes
7. Ski / Board down to bottom of Exhibition Lift: 15 minutes
Expect 2 to 3 hours total.
*The record time hiking the Highland Bowl on Strava as of December 2019 is currently 14 minutes and 41 second by John Gaston.
After the Bowl
You Might Also Like